Exterior Repaint on a Budget — Coote Road
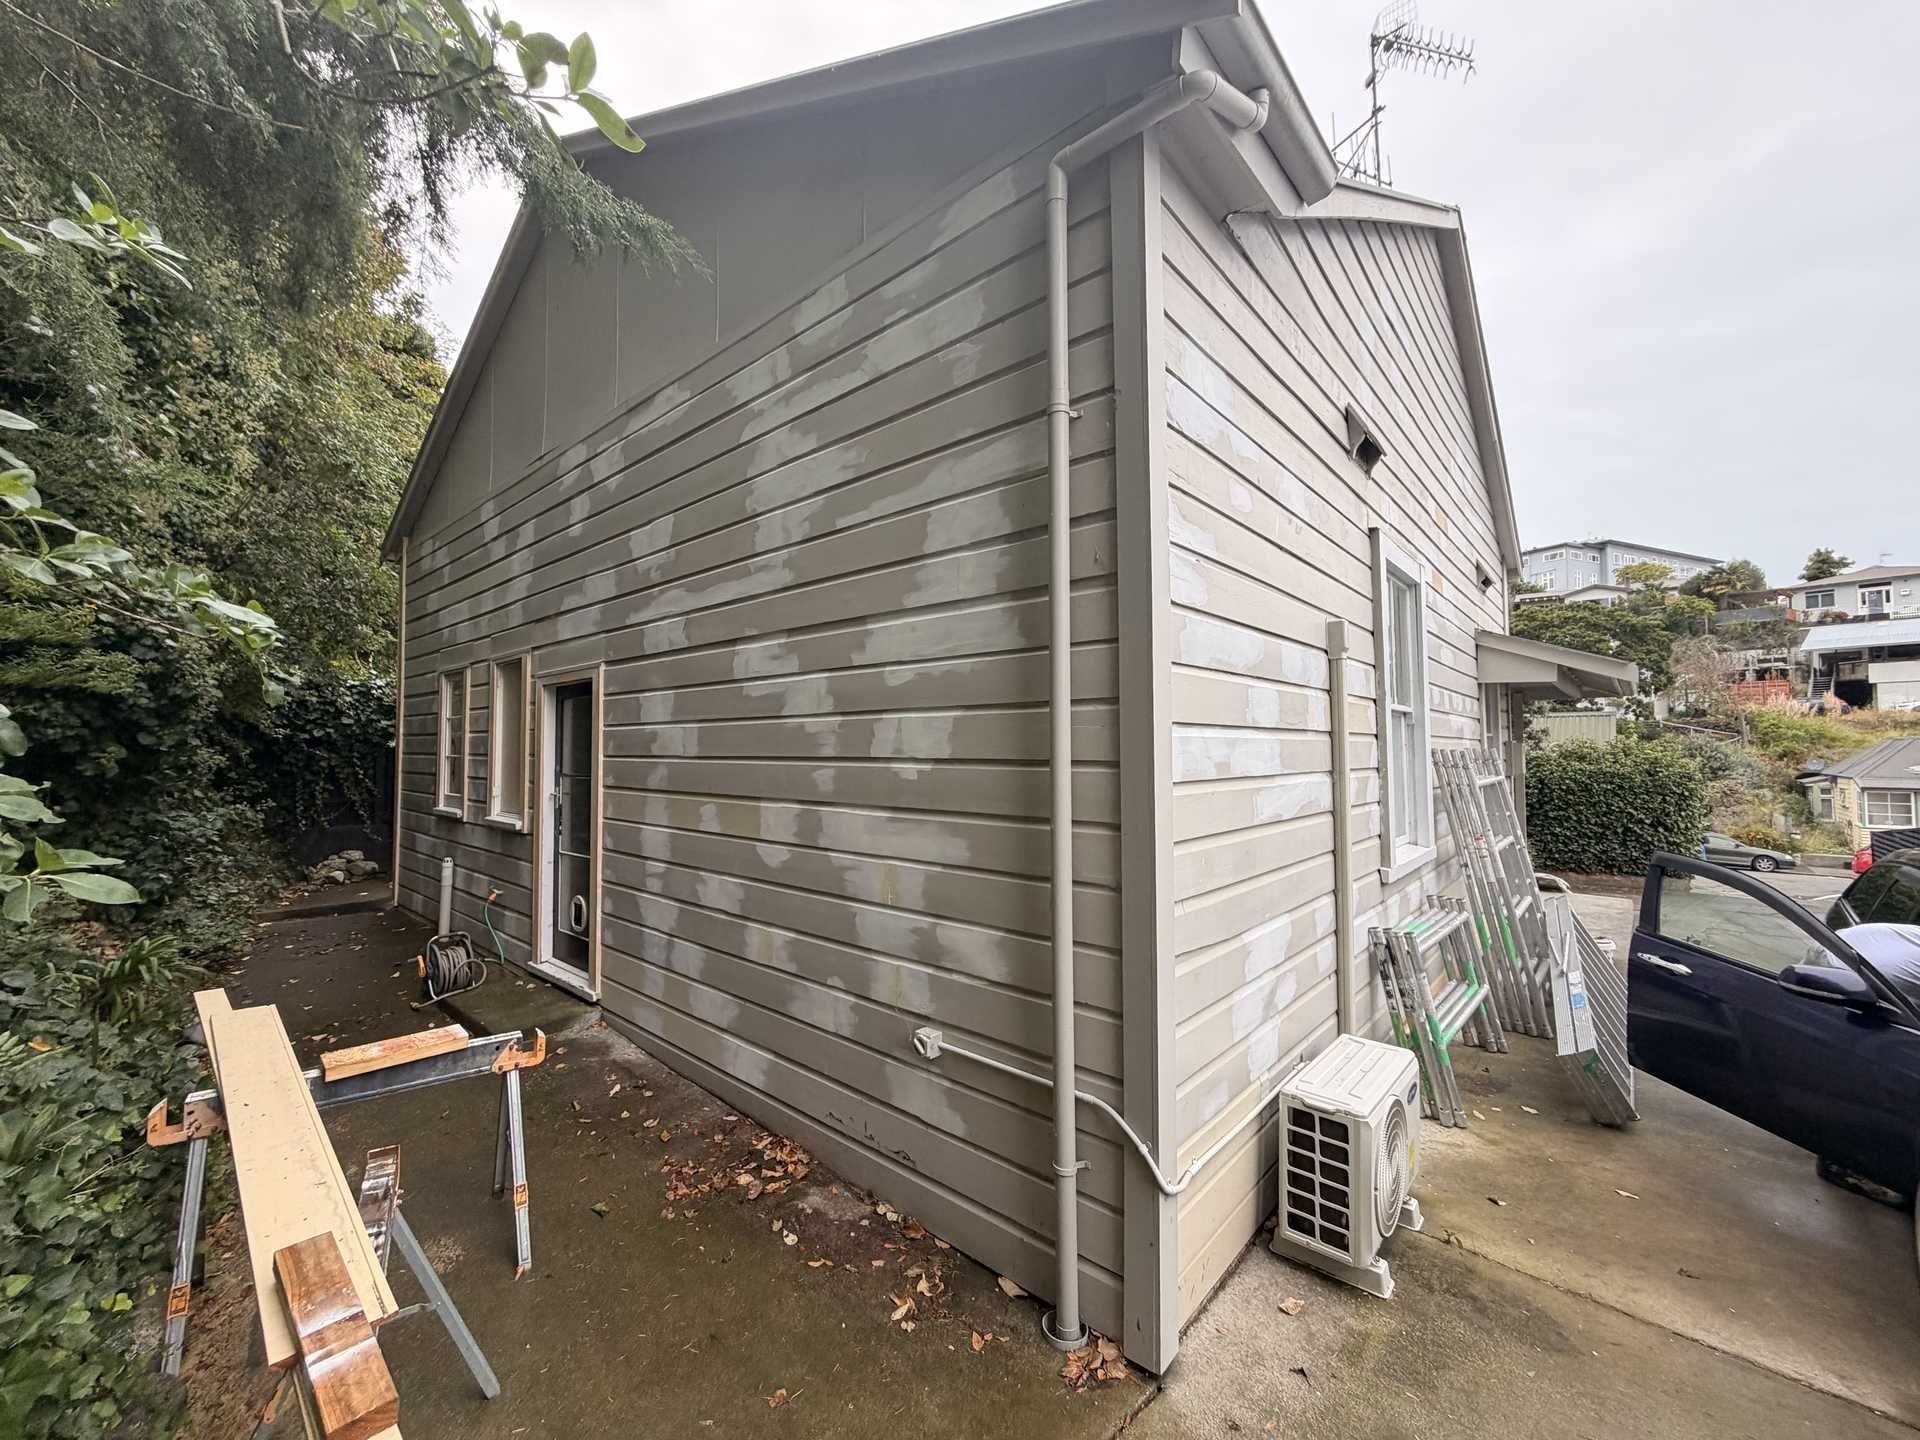
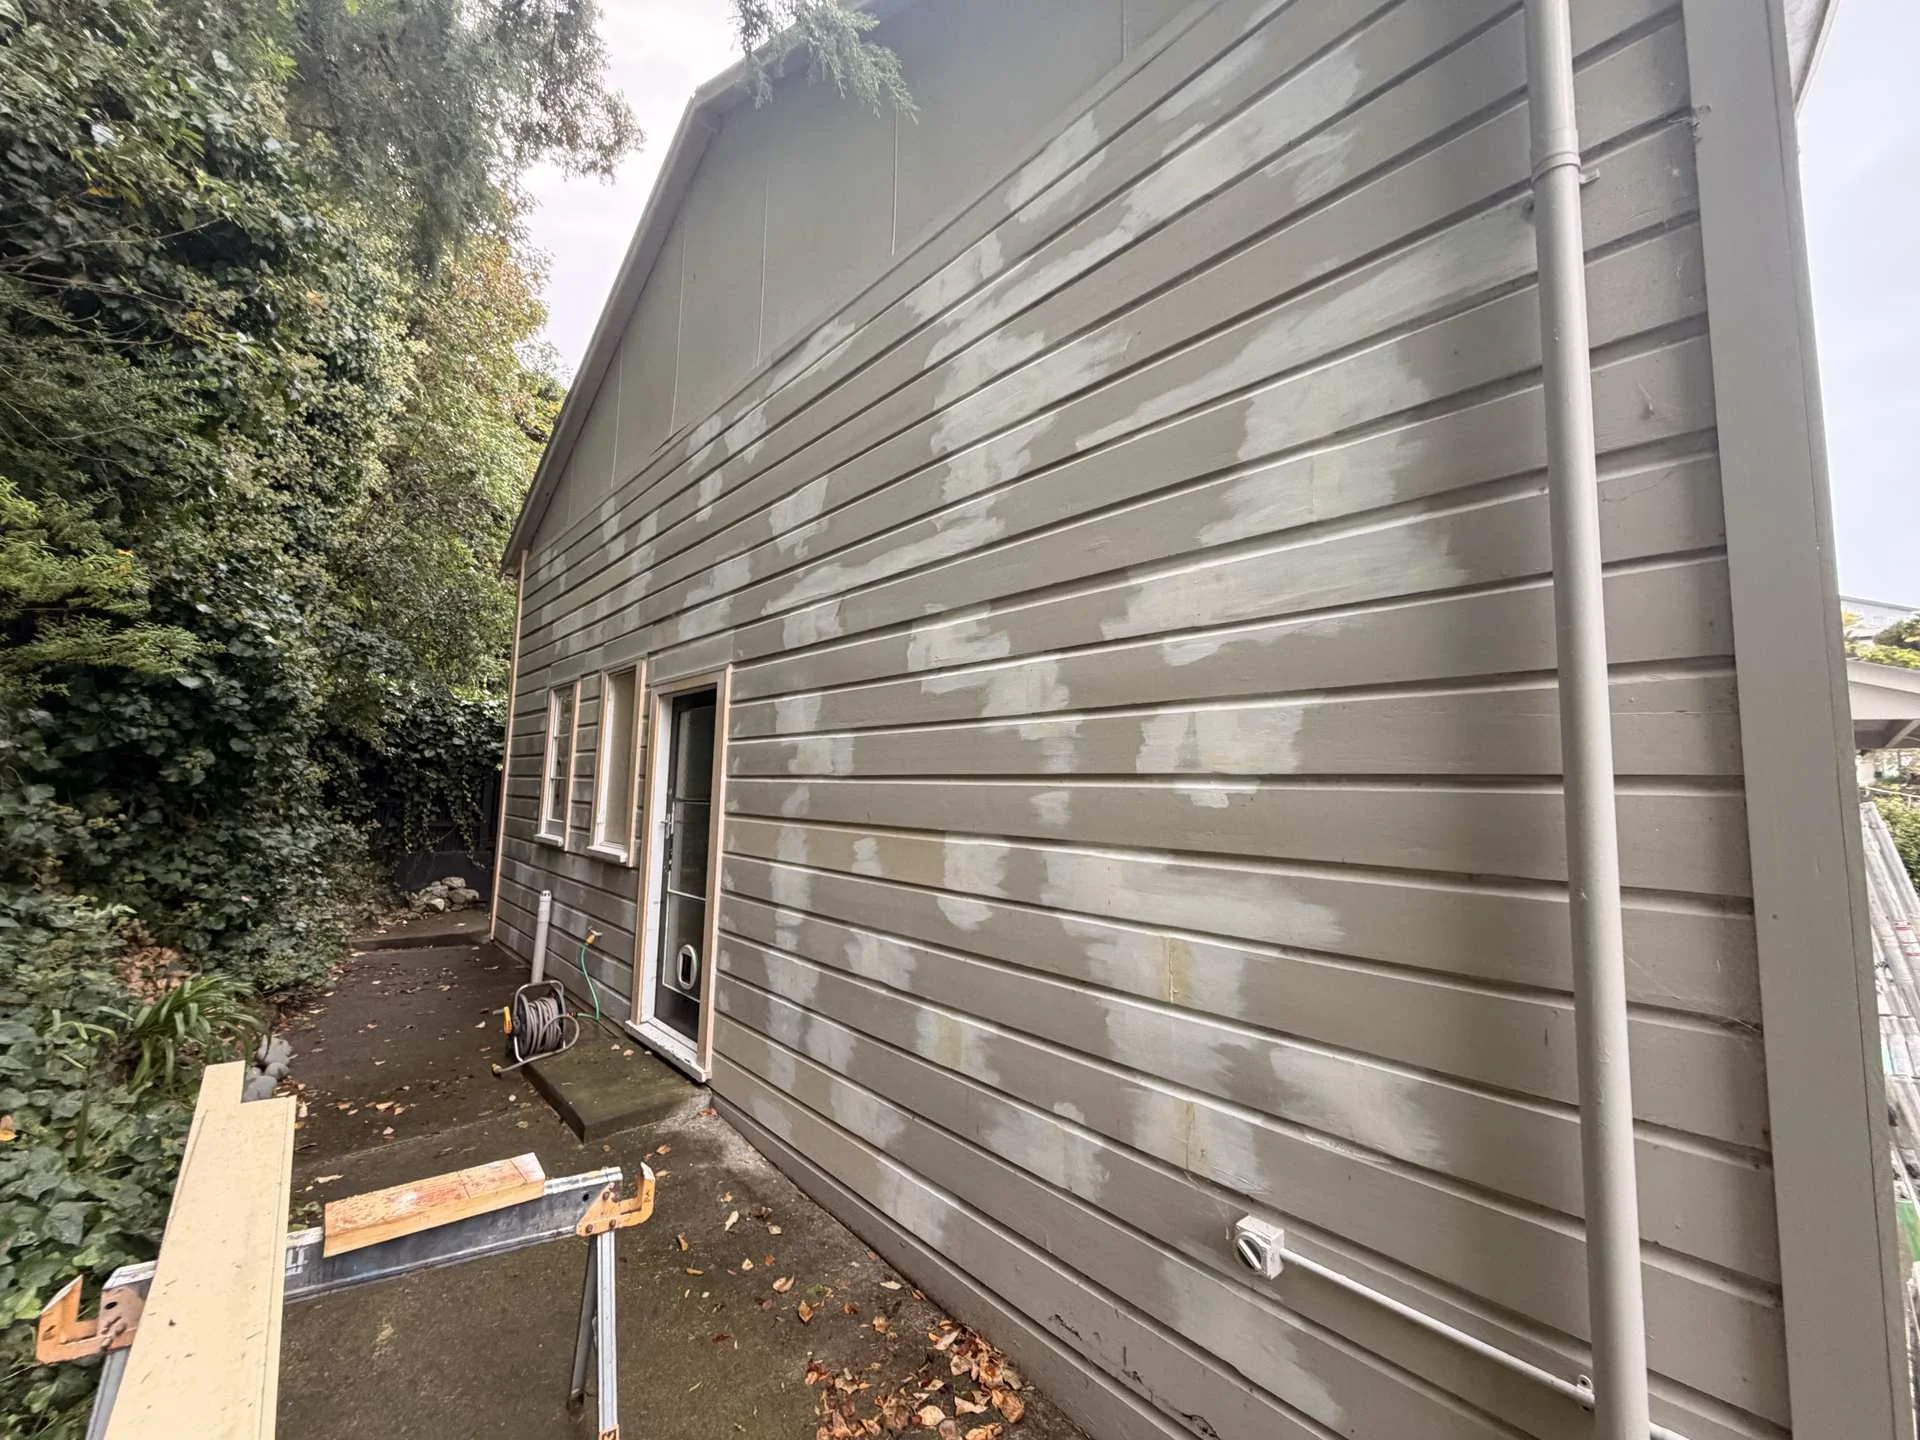
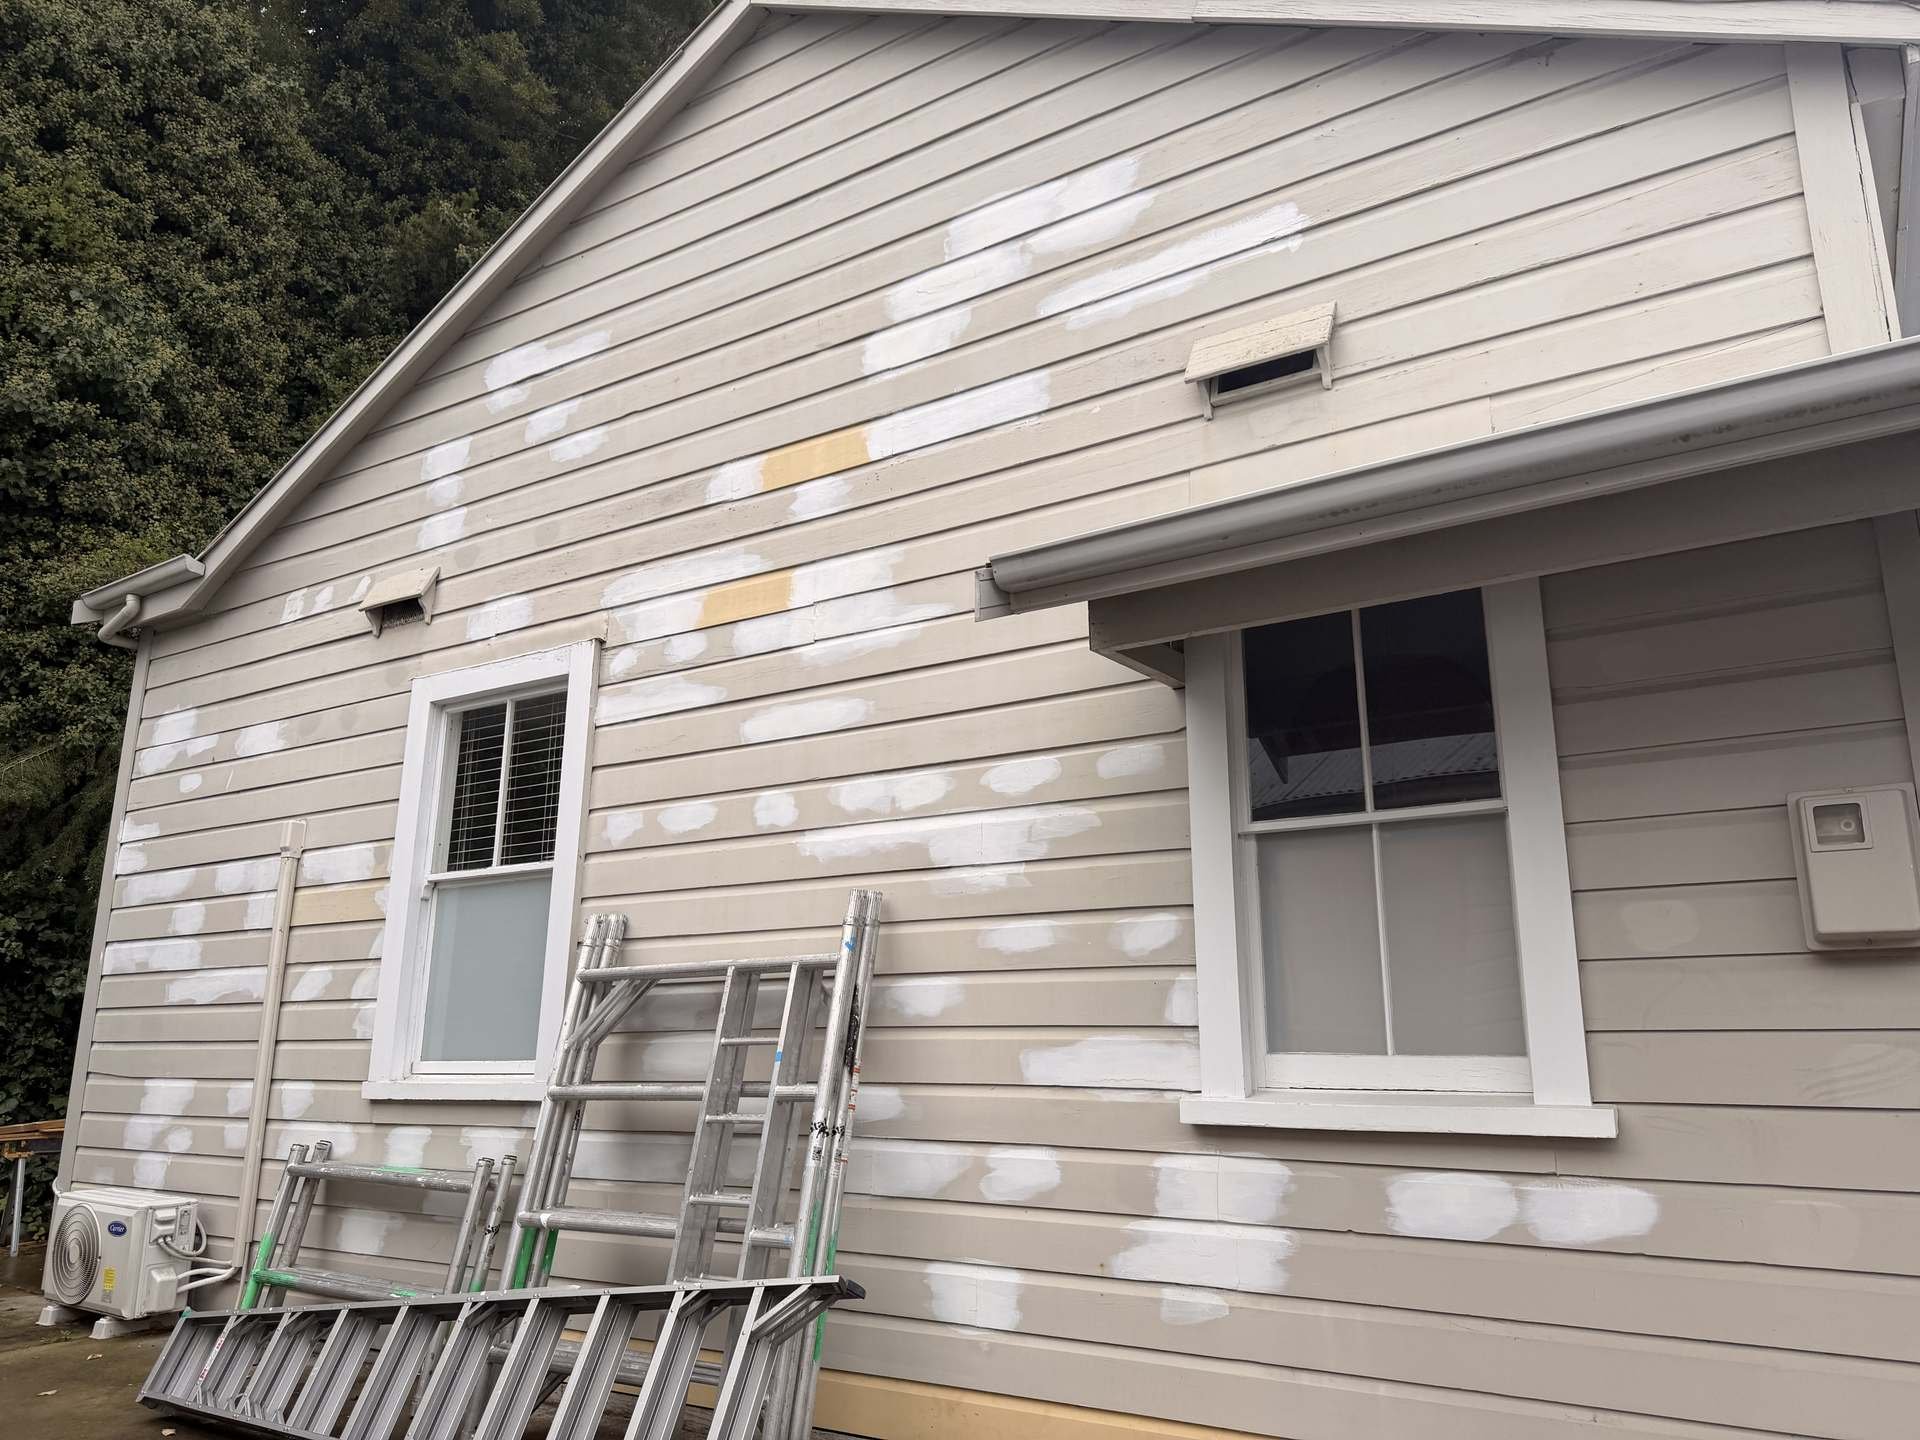
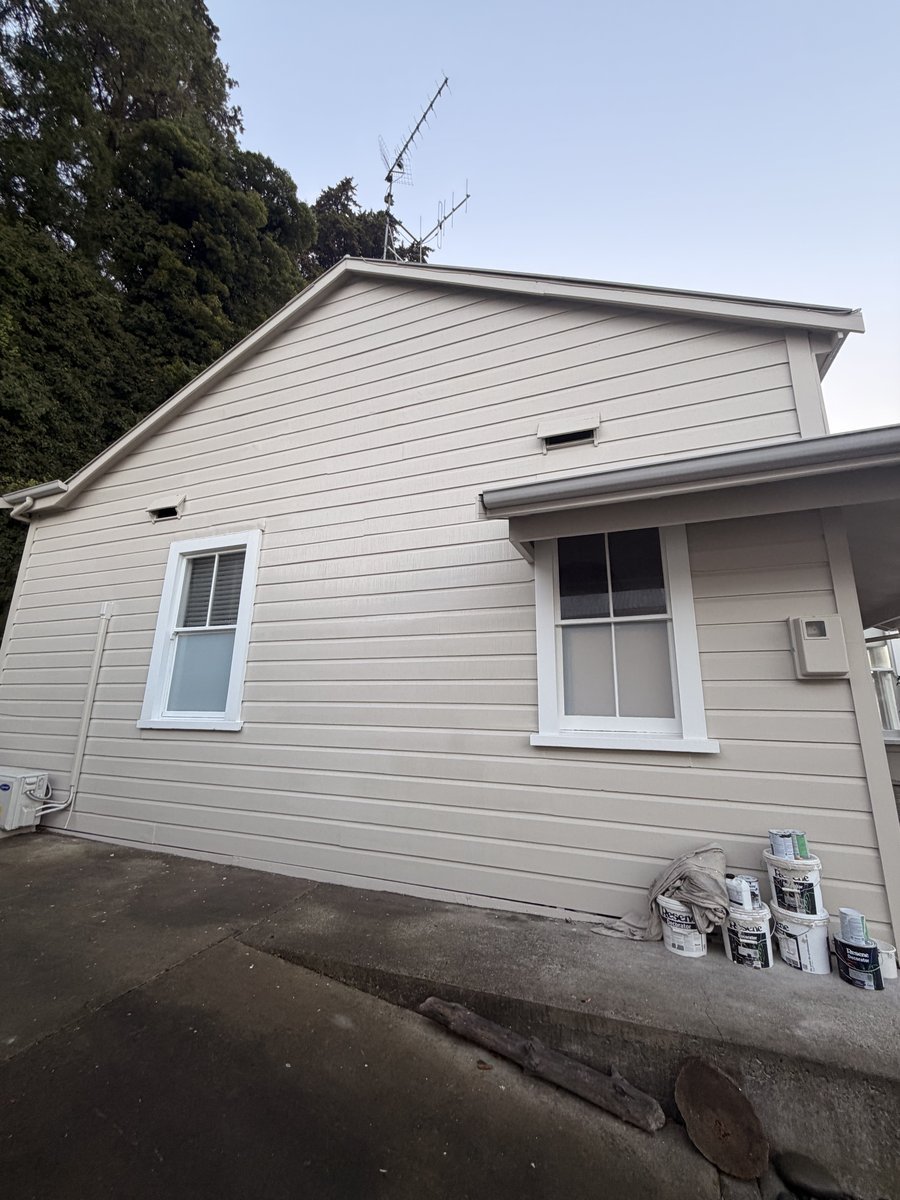
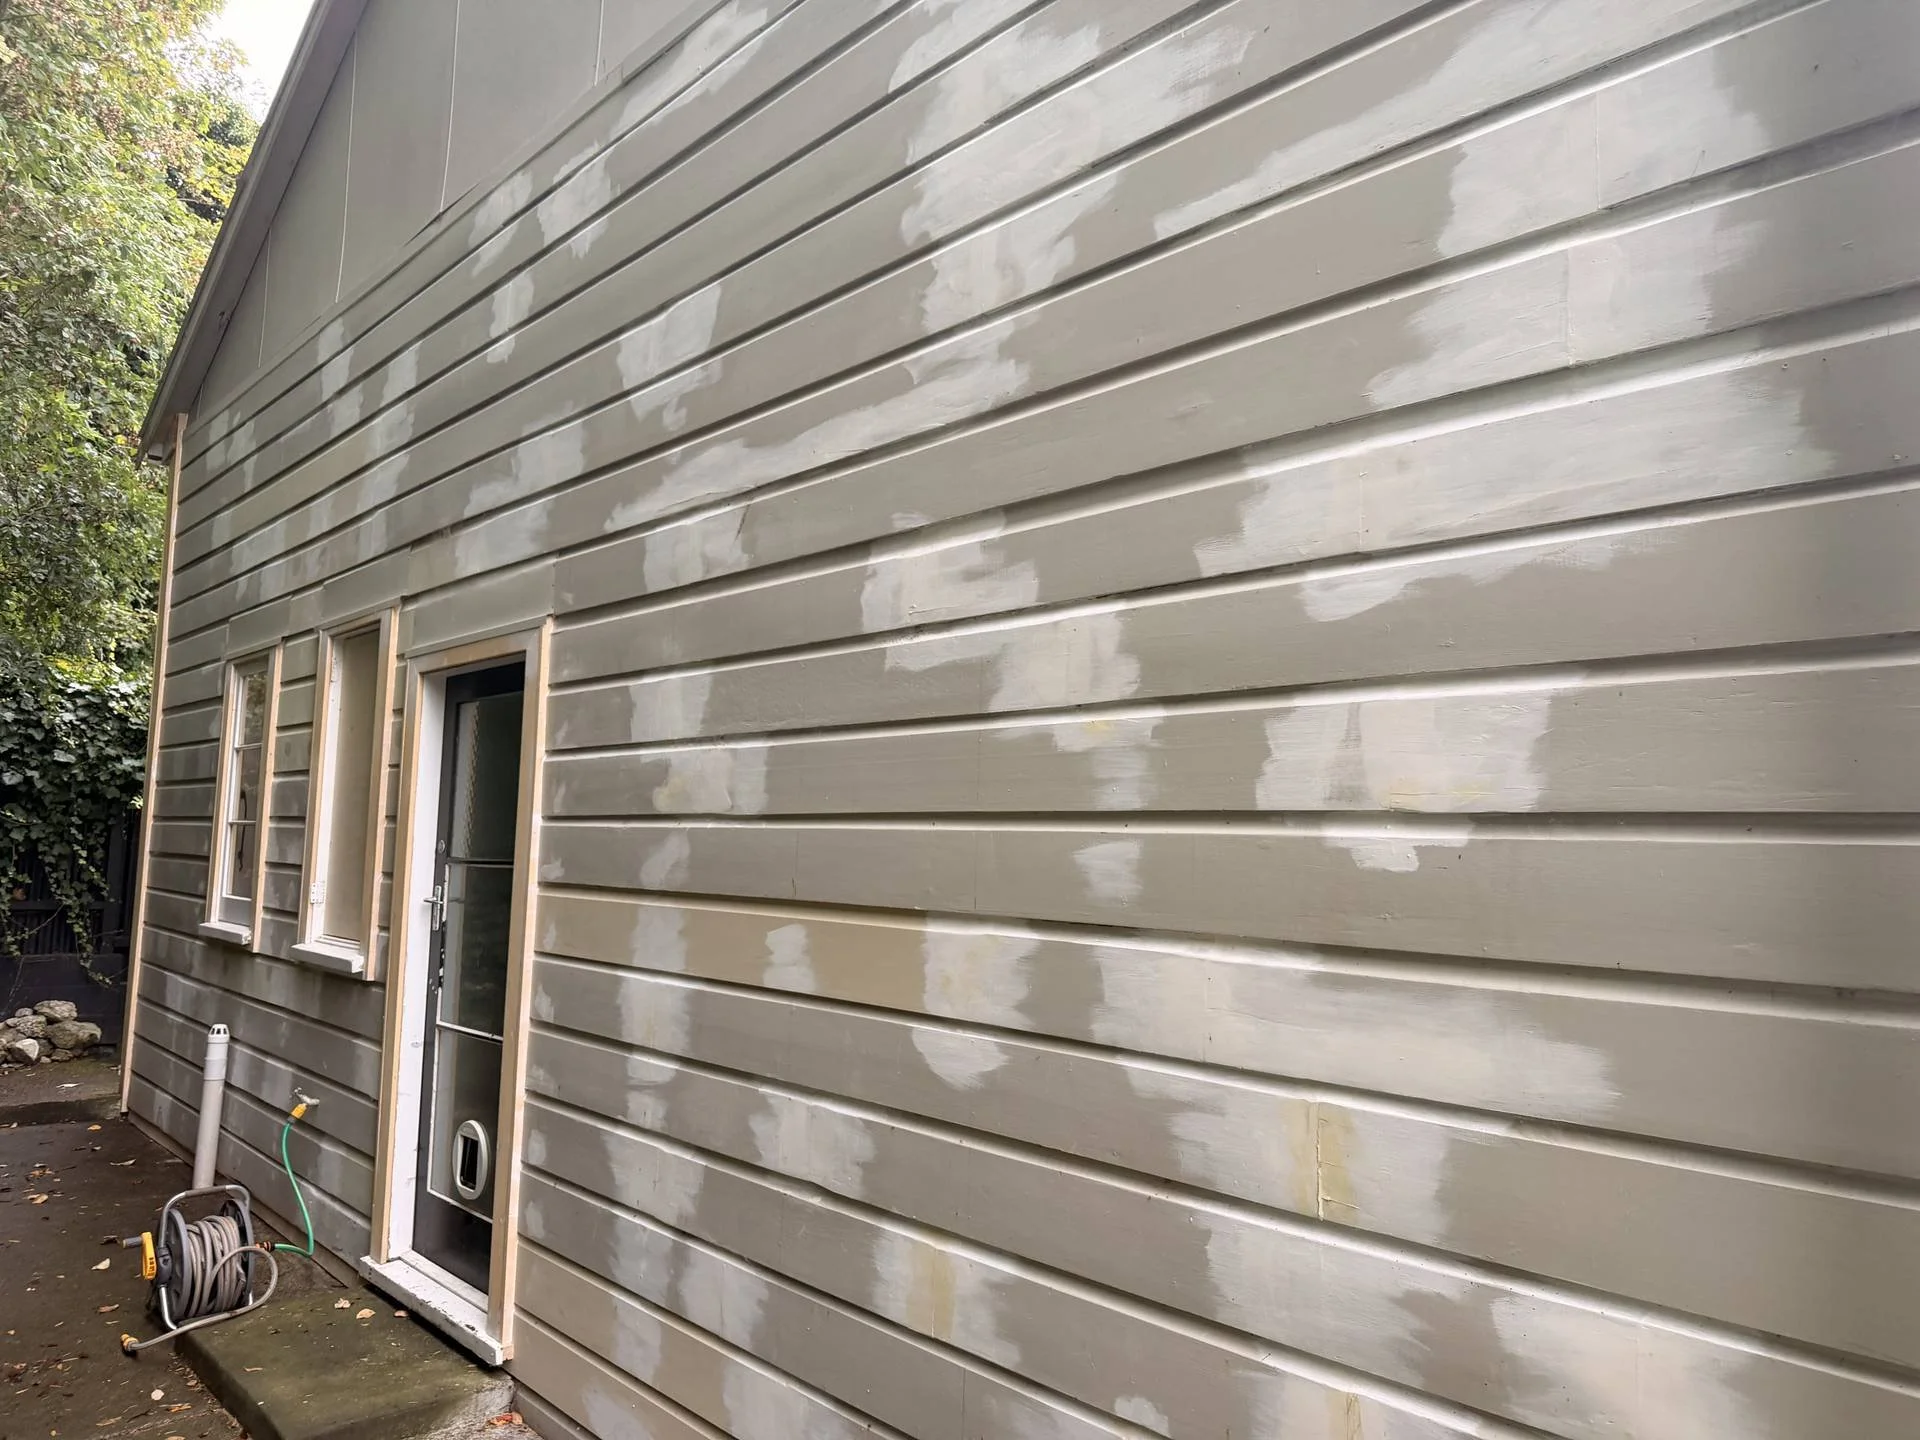
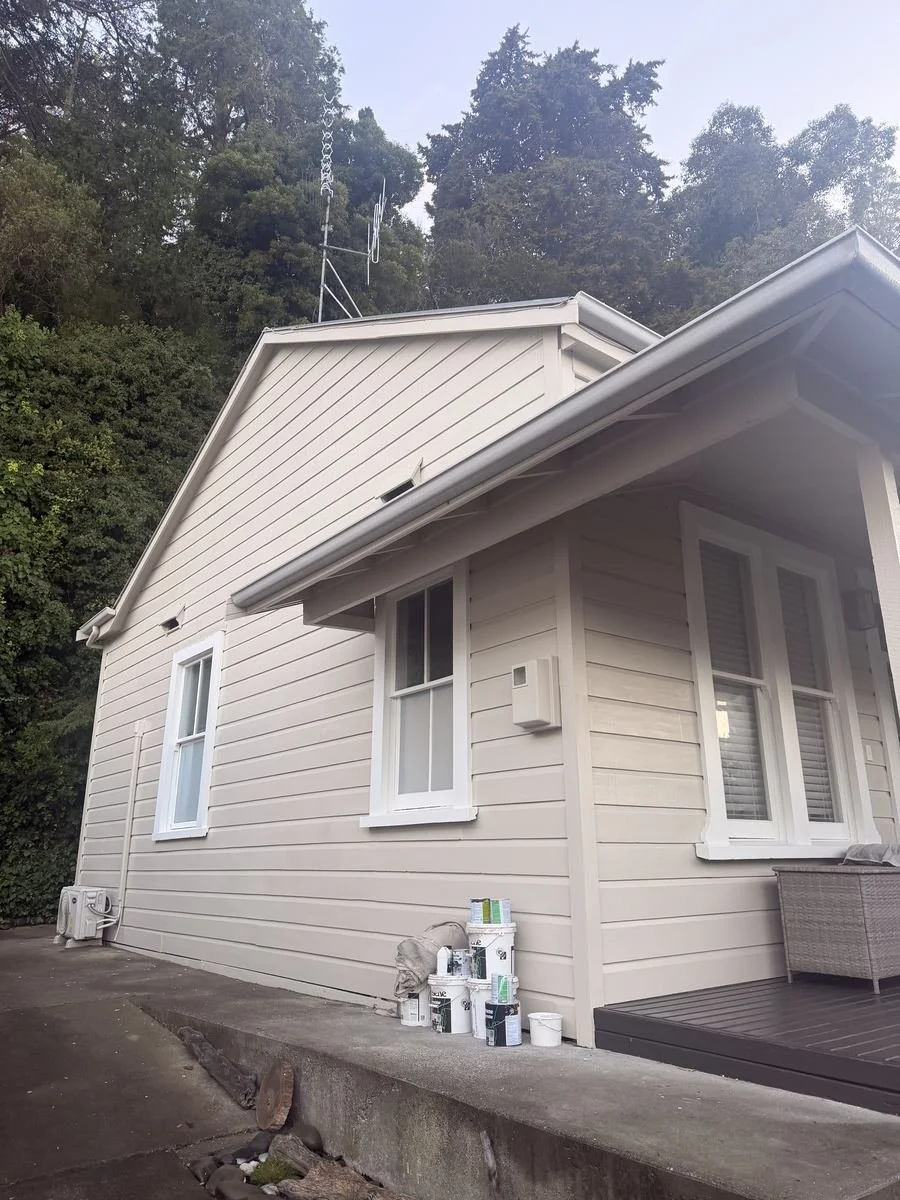
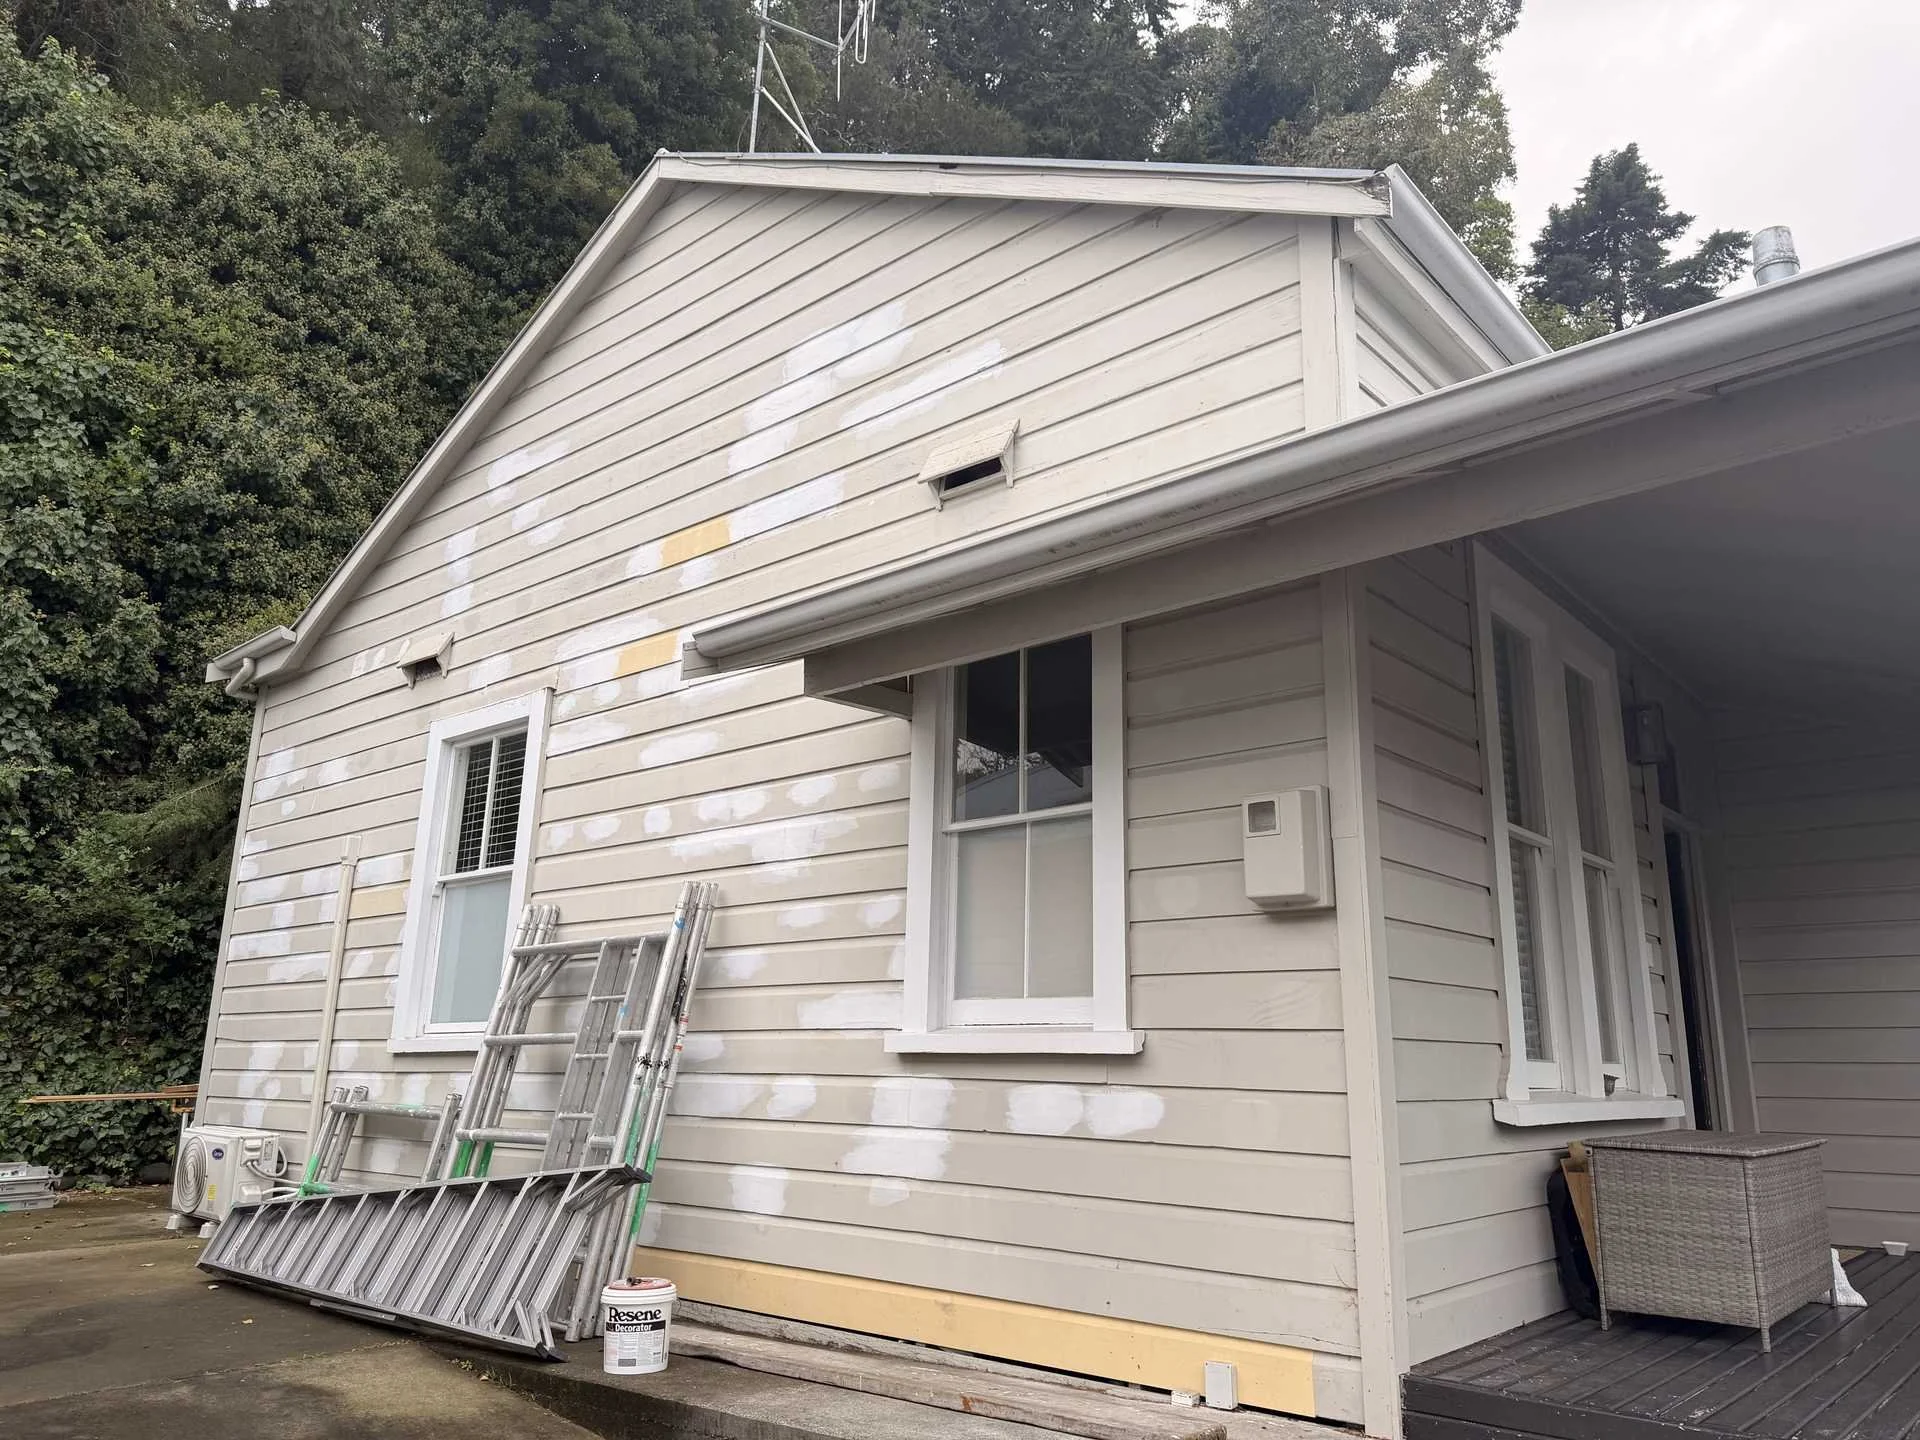
This Coote Road exterior repaint came to us as a bit of a rescue. A previous painter had made a start, left it looking like a patchwork quilt, and walked off the job, so the owner was keen to get it sorted properly. She was working to a firm $10,000 budget, so before we picked up a brush we sat down with her on what was realistic and how to get the best possible result within it.
Making a $10,000 budget go further
Where we cut costs, and where we didn't
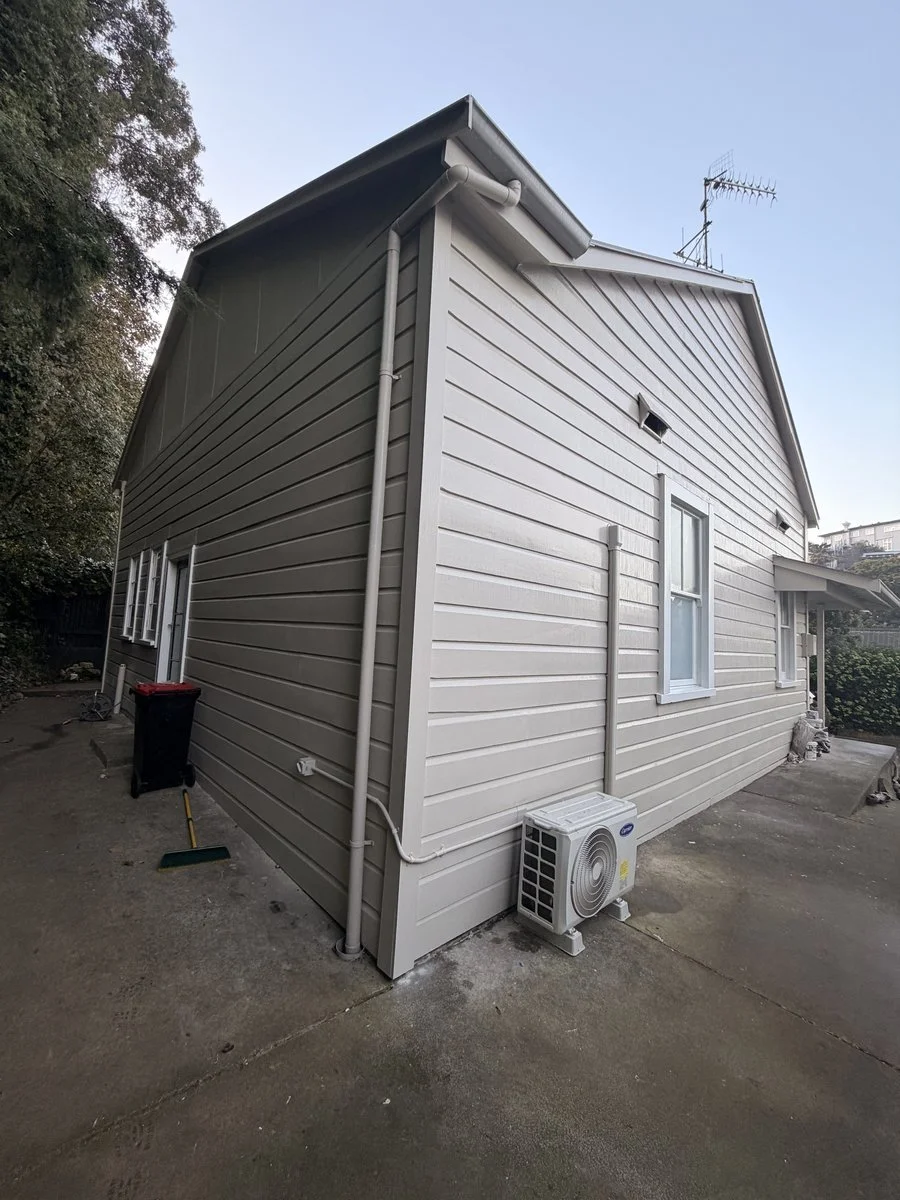
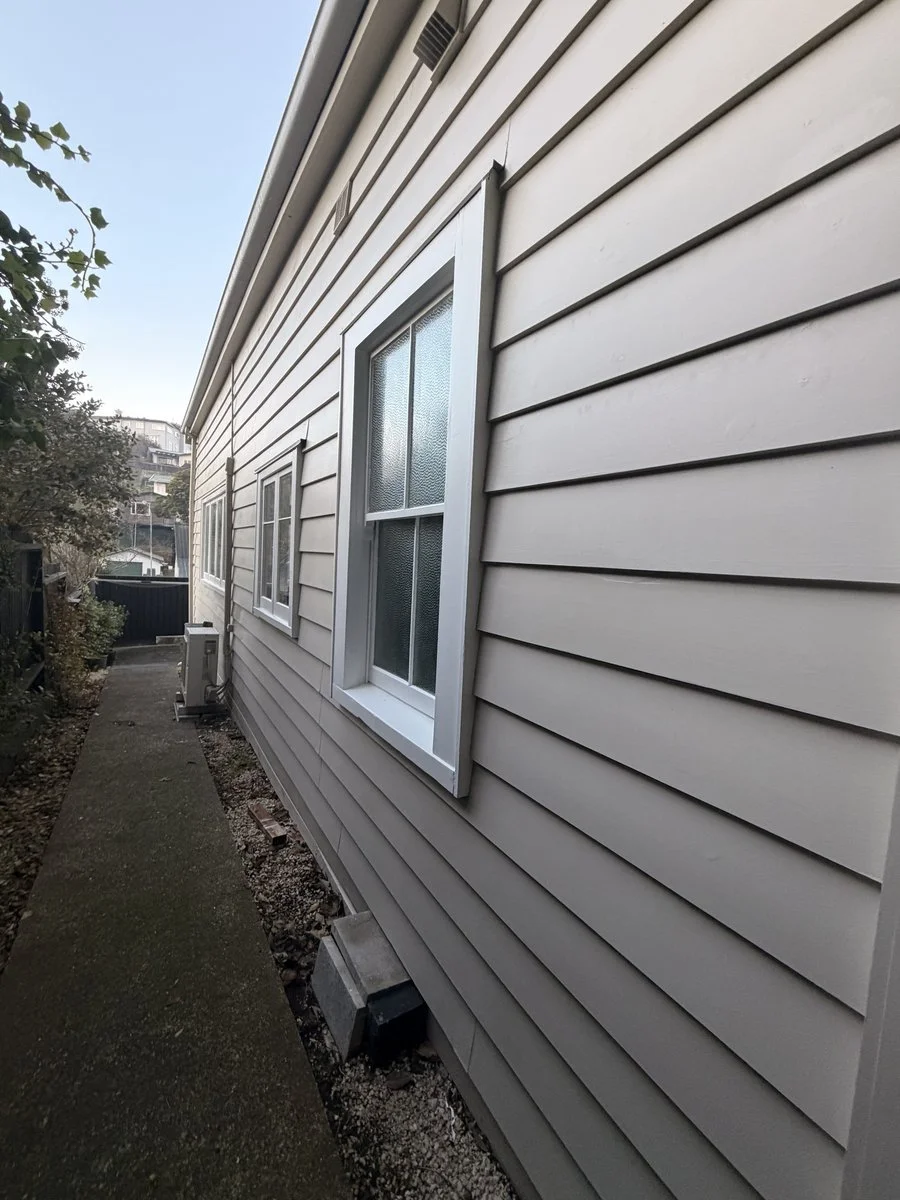
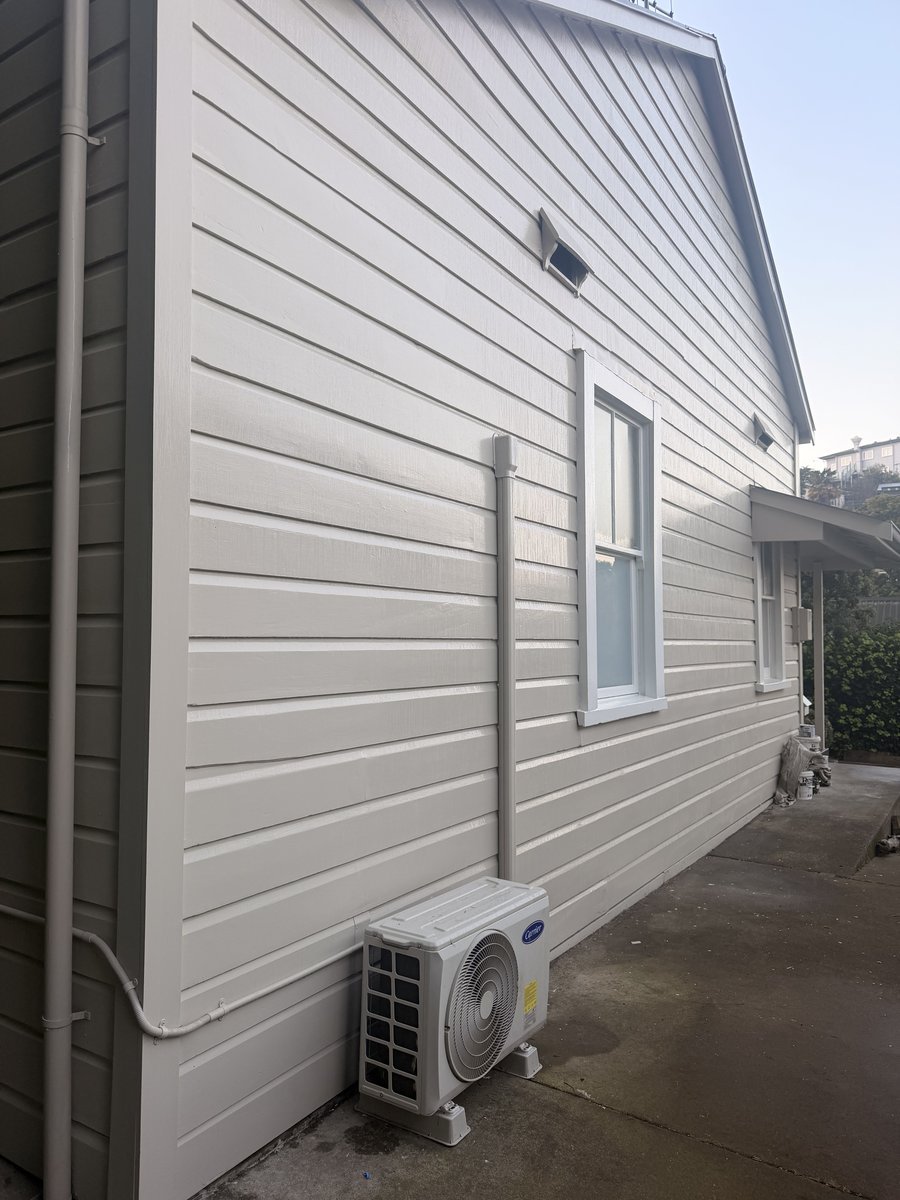
Working to a set budget means being honest up front about where corners can and can't be cut. Staying in the same colour range was the biggest saver. A big colour change can mean extra undercoats and topcoats, so keeping the new colour close to the old one meant the money went into prep instead of extra coats of paint. The soffits were still in good condition, so those got a thorough wash and a refresh coat rather than the full treatment. And we used mobile scaffold for most of the house, which costs a fraction of a full fixed scaffold. Where corners couldn't be cut (priming, sanding, mould treatment), they weren't. She was rapt with how it turned out.
Coordinating the builder and the scaffold
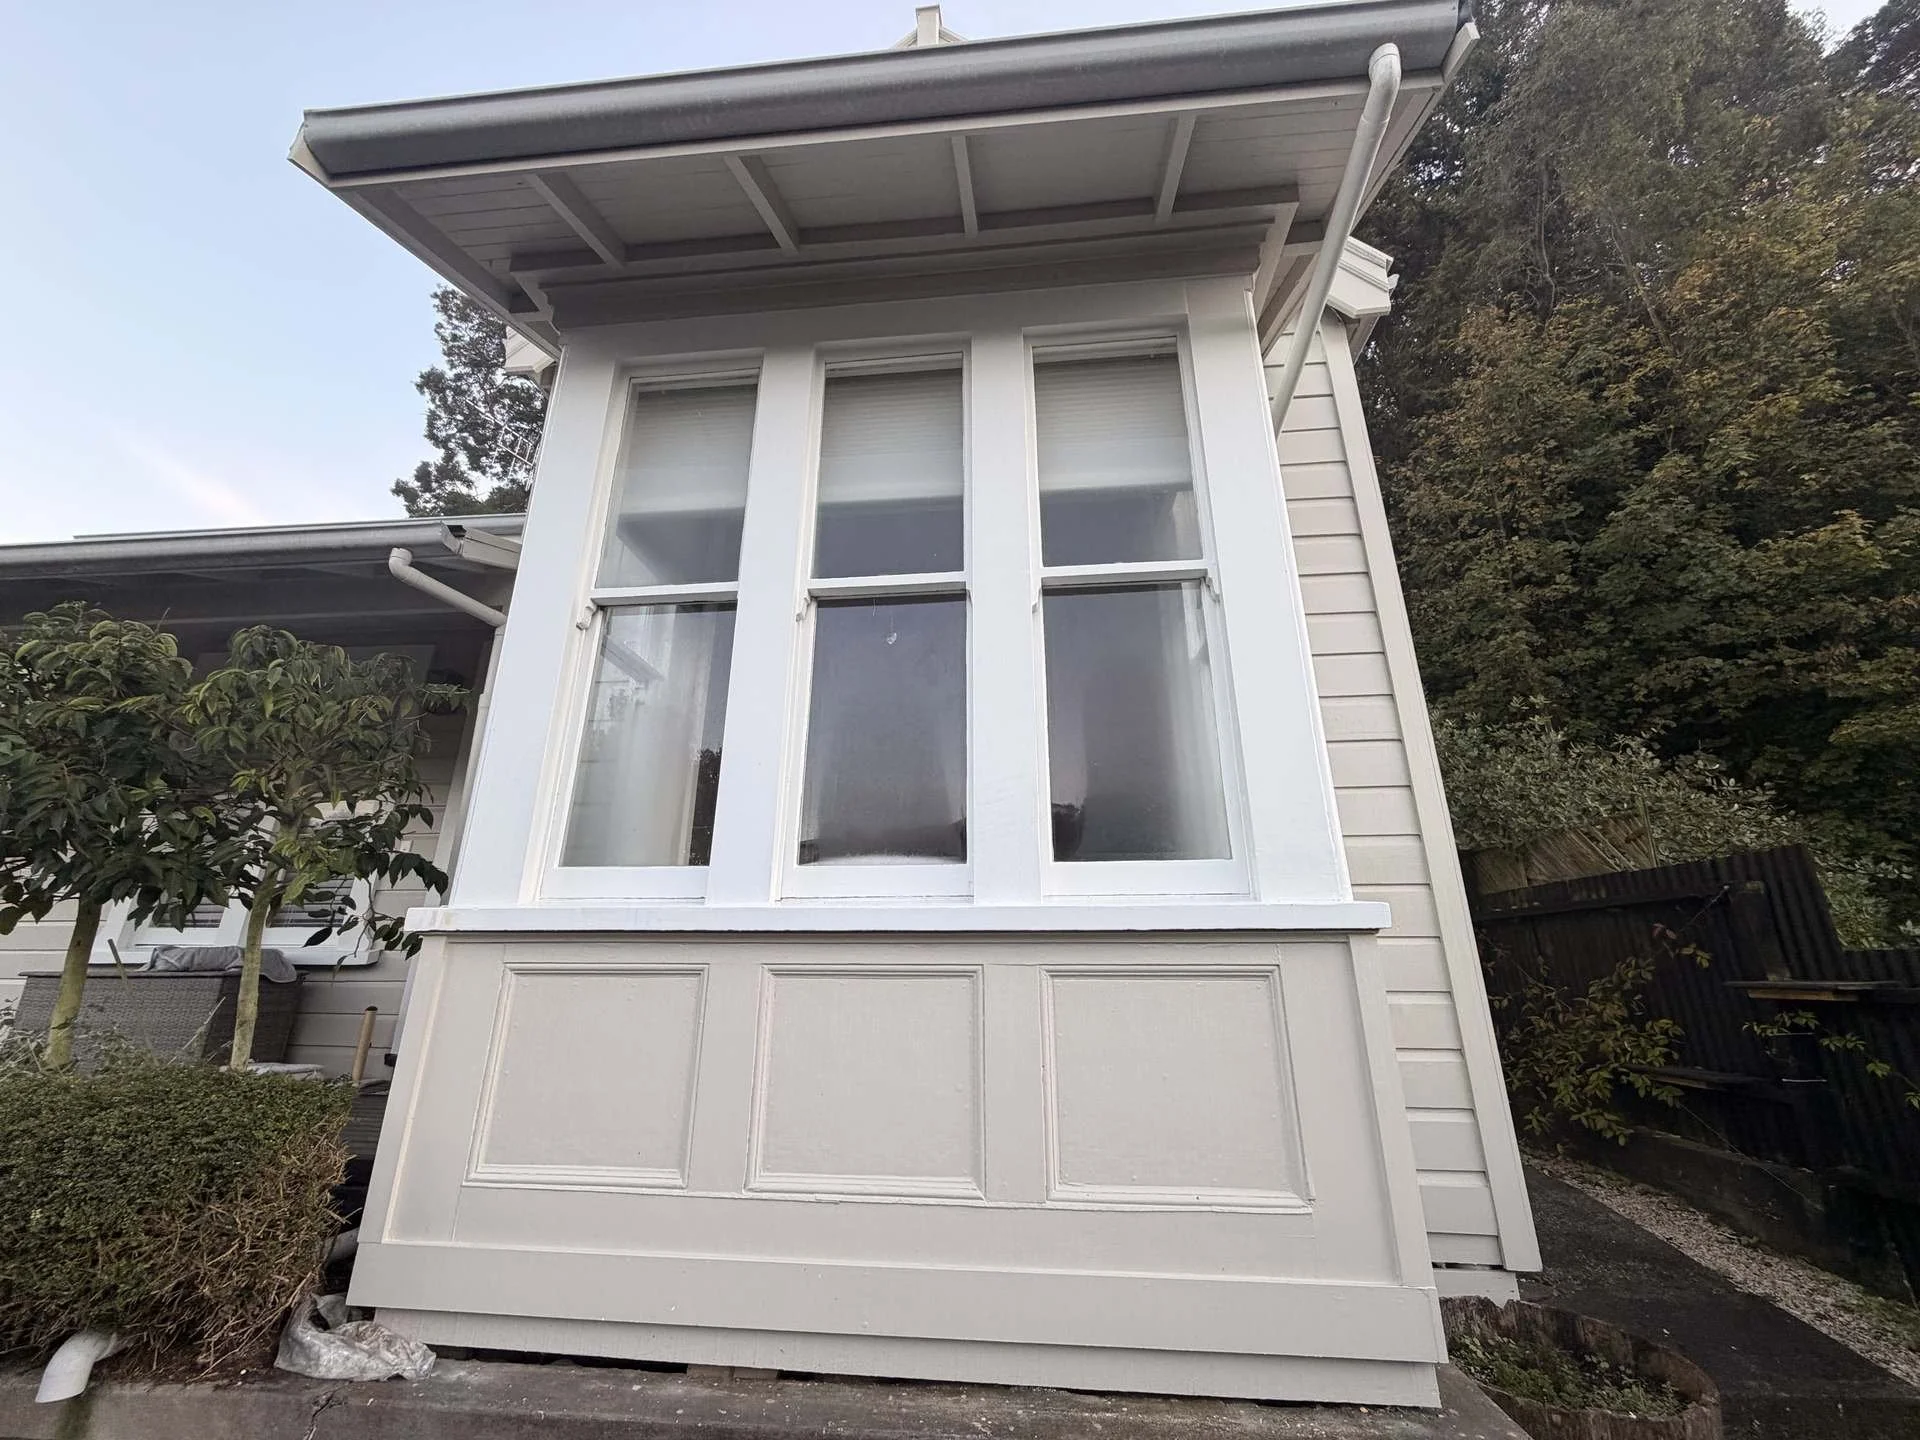
Part of the house needed more than paint. There was rot to deal with, and the finial detailing above the front window needed repairing, so we organised a builder we trust to handle that side. We sequenced the scaffold so the builder went up first and we followed straight after, and we were in and out of that scaffolded section in about four days. Scaffold hire is charged by the day, so tight sequencing like that is real money back in the client's pocket. The house also had new windows and doors through much of it, so we went through ten to twelve tubes of gap sealing around the new joinery, and taped every window for clean, straight lines.
Prepping a damp, shaded site
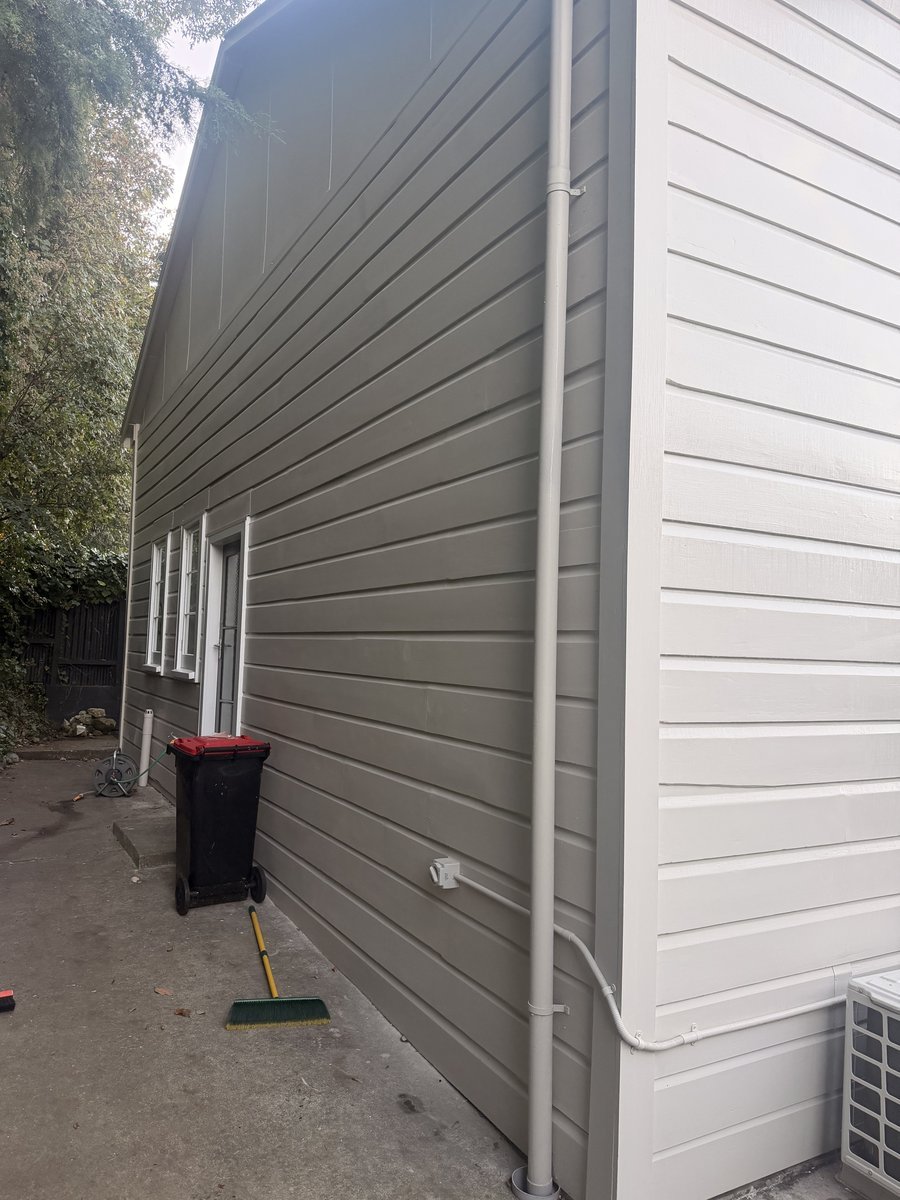
The house sits up on a hill that barely gets a lick of sun, so it had moss and mould growing across the cladding. That meant a full water blast to clean everything back before any paint went on, otherwise we'd just be sealing the growth in. The cold, damp conditions up there came with a catch, too: a standard paint would still have been wet the next morning. So we used Resene Wintergrade, which is made to cure in lower temperatures, and worked through the job over about three weeks. The result is a clean, fresh finish that's a world away from the patchwork we started with.
Working to a budget, or taken on a job that needs putting right? Have a chat with us and we'll talk through your options.